

When I researched for the reason one of my retracts didn't un-retract I found a
slightly loose plug at the timing box. I had something in the shop to fix it.
Text, photos and video by Tom Hintz
Posted – 5-24-2016
I love the simplicity of my Robart electric retracts along with their reliability. But, along the way there have been a few failures that I simply could not explain. In each case one of the wheels did nothing when I hit the switch. Later, on the ground both wheels worked perfectly every time which is where the frustration comes in.
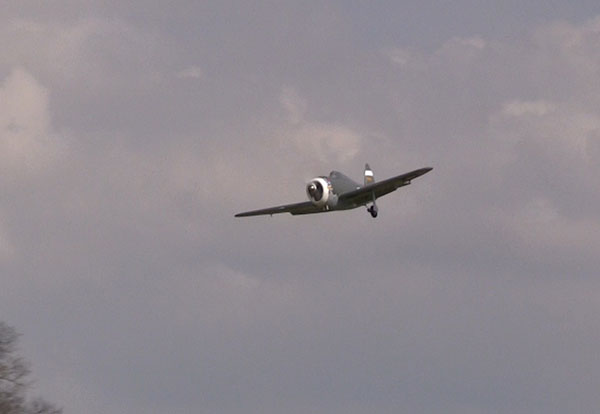
Then on the final day of my journey to Joe Nall 2016 at the famed Triple Tree Aerodrome as we were tearing the Top-Flite Giant Scale P47 Razorback down for the trip home one of the wheels did not retract when I flipped the switch. This time I reached under the inverted fuselage and touched the retract cable where it entered the control box and the wheel retracted normally. The plug at the end of the retract cable had vibrated loose just enough to break the connection.
While it is obvious that I needed to secure the plugs in the control box just how to do that reliably yet be able to remove “the fix” later if need be was not so obvious. I thought about taping the wires and plugs in place but that seemed clumsy and perhaps less than reliable. Epoxy or other liquid type glues risked having the glue run down into the box and really messing things up. Then I recalled my helicopter days where many pilots secured their receiver plugs with a bead of hot melt glue.
Hot melt glue seemed to be the best answer. It is secure, cools quickly so it can’t run down into the box itself and it can be removed fairly easily with no or minimal damage to the surface it had been applied to. I even had a hot melt glue gun in my shop already!
I like simple fixes for frustrating problems. The only real preparation needed before using hot melt glue is letting the gun itself warm up sufficiently and cleaning the area to be glued. A little alcohol sprayed on a clean paper towel made cleaning the area around the plugs and the plugs themselves a quick, easy task. I like using alcohol for cleaning because it works and any residue evaporates very quickly. I’m not good at waiting for anything.
I applied a small dab of the hot melt glue to each side of the plugs making sure the glue is firmly on both the plug and the surface of the box next to it. A dab like this on both sides of each plug seems to be the fix I needed.
I always enjoy flying my Top-Flite Giant Scale P47 Razorback more when the wheels go up and down when I need them to. A few dabs of hot melt glue seem to have made my retracts way more reliable with a near zero investment in money or time. There are not many things about large RC planes and giant scale war birds in particular that meet those criteria. When we are working on a budget we have to choose our financial battles wisely. Using a few dabs of hot melt glue to potentially save a very expensive warbird is a no-brainer.
Have a comment on this story? –Email Me!