


Drilling the prop correctly is not only safer, it enables positioning the prop on
the crankshaft so it is easy (and safer) to start by hand. I like my props to be at
about 1-o'clock so I get a full flip more easily.
Text, photos and video by Tom Hintz
Flight video by Clark Ponthier
Posted – 12-31-2015
When we move into larger airplanes and engines the propellers require more than a cursory balancing. To withstand the torque of the bigger motors the props are bolted to the crankshaft rather than retained by a nut and washer alone. Drilling jigs designed for specific motors help but deciding where to place that hole pattern leaves the “screw up” door open wide.
Like it or not there are some in the RC flying fraternity that come down firmly on the stupid side of cheap. Even though they are aware that most prop retention systems use metric fasteners and center post some choose to use the closest (larger) SAE-sized drills to avoid having to buy a metric set. That of course means winding up with holes that are too big and a prop that can move back and forth in those holes with surprising ease even though the bolts are tightened properly. On a good day the bolt holes in the prop will slowly elongate. On a bad day the prop blows up at speed.
The answer is simple, measure the center post and prop bolts on each engine. Don’t assume “everything is the same” even though much of “everything” out there is. This isn’t rocket science nor is it difficult. Using the wrong drills can result in losing an airplane along with all of the dangers of an errant plane coming down where it wants – or in pieces.
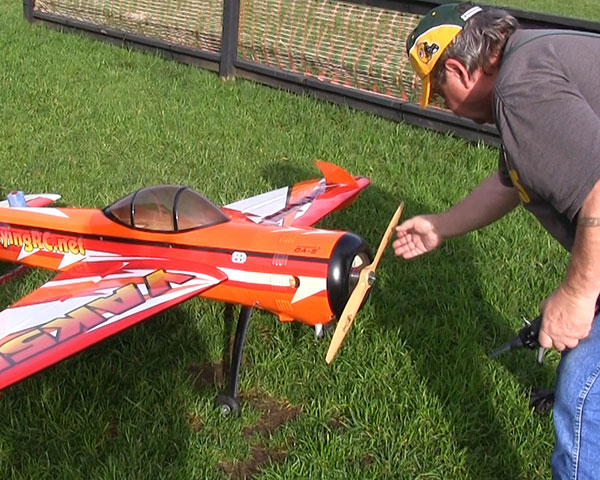
Adjusting the position of the drilling jig so that the prop winds up in the correct spot when up against the compression is crucial. Most right-handed people want the top blade to be around the 1 o’clock position. That way you can flip the blade right to left through the compression stroke easily. Plus, it is easier for you to “follow through” with your hand so that it is out of the way if the motor fires.
Left-handed pilots sometimes like this same prop orientation because it puts the bottom blade around the 7 o’clock where it is more comfortable for them to flip the prop left to right around the bottom of the stroke.
So far all of my motors come up on compression at about the same point so I don’t have to drill special props for one or more motors. With the blade standing straight up I put the bolt holes of the jig at the corners of the prop hub. (See the photo) Make sure you check this hole alignment when the prop is against the compression stroke of the motor.
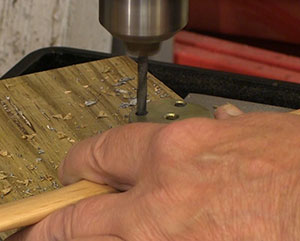
I always use my drill press to be sure I
get the holes square to the prop hub.
There is very little slop in the interaction of the prop, prop washer, prop base and the prop bolts. The last thing we need is a prop bolt at even a small angle which could lead to stripped holes, broken bolts or even an exploding prop. The thickness of most prop drilling jigs will help keep the holes square to the flat surfaces of the prop hub but to get this right I think a drill press is needed. The good news is that we don’t need a big drill press.
Using the proper size drills is also important so I measure the prop boss on the engine as well as the prop bolts to be sure I am drilling the right sized holes the first time around. This includes running the correct drill through the center hole of the prop where excess finish material can reduce that diameter sufficiently to make getting the prop onto and off of the engine way tougher than it should be.
The only caveat for using the drilling jig is to be sure it is aligned properly for the blade position that you like for starting the engine. Then make sure you have the jig secured so it cannot move while drilling the bolt holes.
Some folks use a drilling procedure that involves drilling part of the bolt holes from one side of the prop and then finishing them from the other side. This eliminates chipping where the drill exits the wood but I have never had a problem with a little chip out so I stick with drilling from one side. You can reduce the chipping or tear out dramatically by using a slow feed rate at the drill press along with a slightly increased RPM of the drill bit. We want to let the drill bit cut the wood, not jam it through.
After removing the drilling jig, I lightly sand both faces of the prop to get rid of any small splinters that may be around the fresh holes. Then I go right to the balancer to complete the preparation of the new prop.
Drilling a prop is a common task that can be taken too lightly. I have seen brand new props explode on an engine test stand because one or more bolt holes were drilled a bit crooked and unusual pressure was being exerted on the prop hub when installed on the engine. Prop drilling jigs are cheap considering the importance of what they do. Getting a small drill press (or finding one to use) is also a good investment for many other things in the shop than just drilling props.